We're sure that at some point when you go to get a semi-permanent manicure you've thought: “I could do it myself, but I don't know if it will be worth it to buy all this material…”.
The semi-permanent manicure has been a growing trend in recent times for many reasons:
- It is very durable (minimum 2-3 weeks).
- Instant drying with the LED/UV lamp.
- It gives us (both men and women) a good presentation card.
- It gives an extra shine to the nail that traditional nail polish does not provide.
If you want to save the $ of each service or even start with a new business that can provide you with many benefits through a low investment, we have the best solution: in AliExpress you have all the necessary material and at a very good price.
What materials do I need?
First of all, let's go over, in chronological order, through the materials you need for semi-permanent nail polish and how you can find them, very cheap.
Cuticle pusher or orange stick
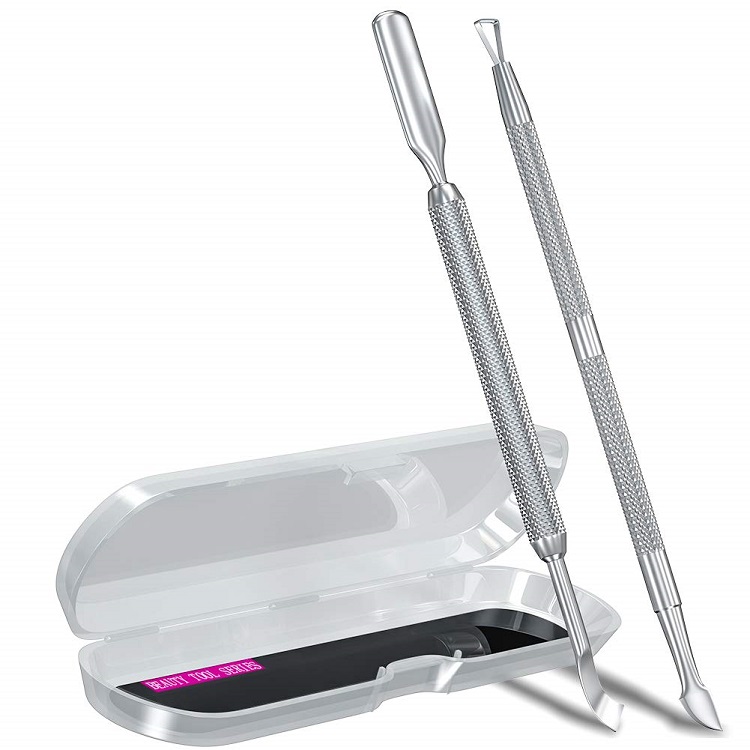
Cuticle pushers or orange sticks help to detach the cuticle from the nail for easy removal with the nail drill and cuticle nipper.
Nail drill
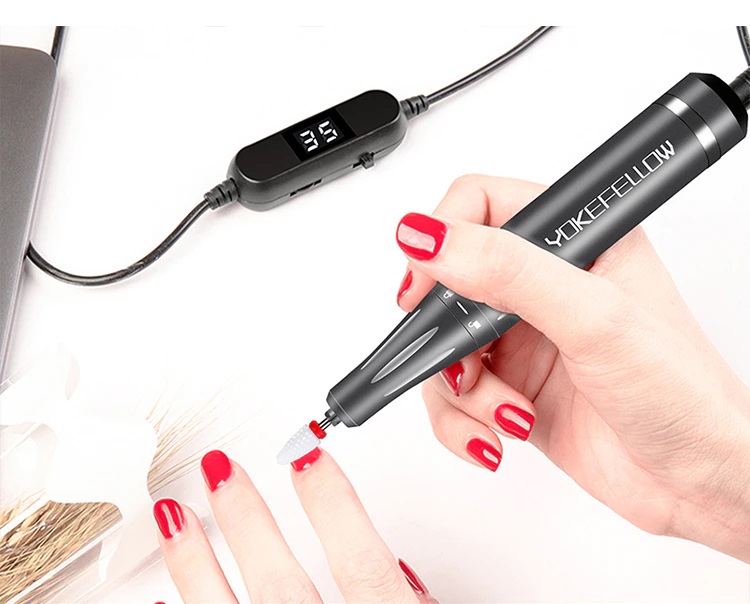
With the nail file, you can finish lifting and filing the skins and dead cells around the nail in a fast and very effective way, since you can easily clean the skins and small calluses with it.
It is also very useful to completely remove the semi-permanent nail polish or the first coat of nail polish (top coat). In this way the acetone penetrates much faster and the nail polish softens in a short time.
Cuticle clippers
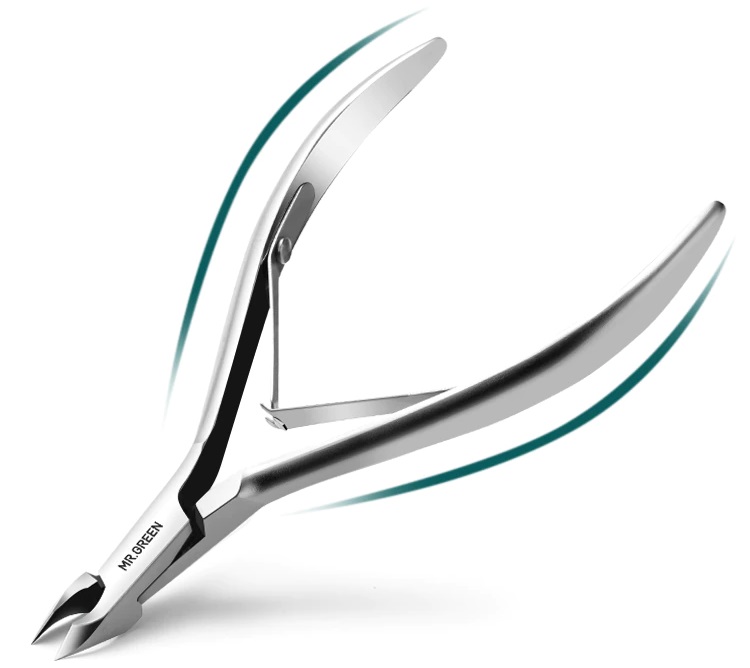
This scissor-shaped instrument allows you to cut and finish removing excess dead skin from cuticles that you have not been able to remove with the nail drill.
Cardboard file
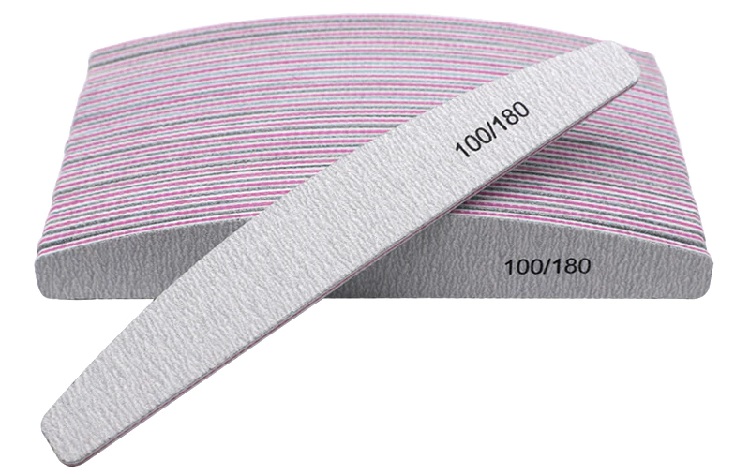
Although there are many types, large flat files are the most practical for shaping your nails.
Choose one that has coarse grit on one side (when we want to file the nail faster) and fine grit on the other (to finish perfecting the shape of the nail and gently seal any debris left on the free edge of the nail).
Polishing or block file
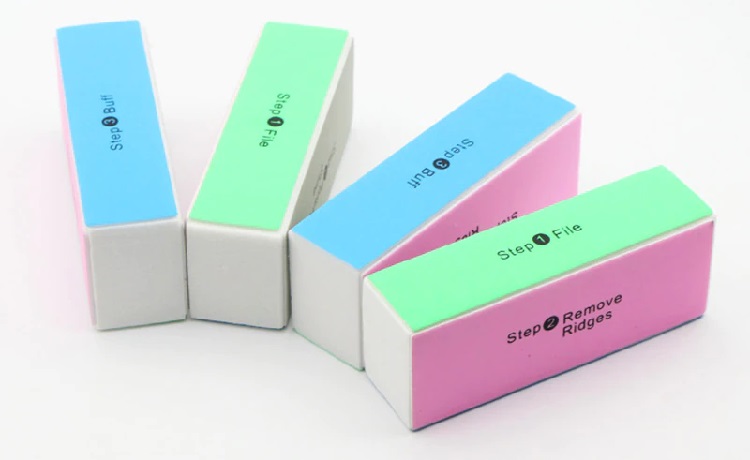
Cube-shaped files usually have each side of a different thickness, intended for filing, smoothing, buffing, polishing, shining the nail and opening the pore to make semi-permanent polish adhere better.
Cleanser (synergy swipe)
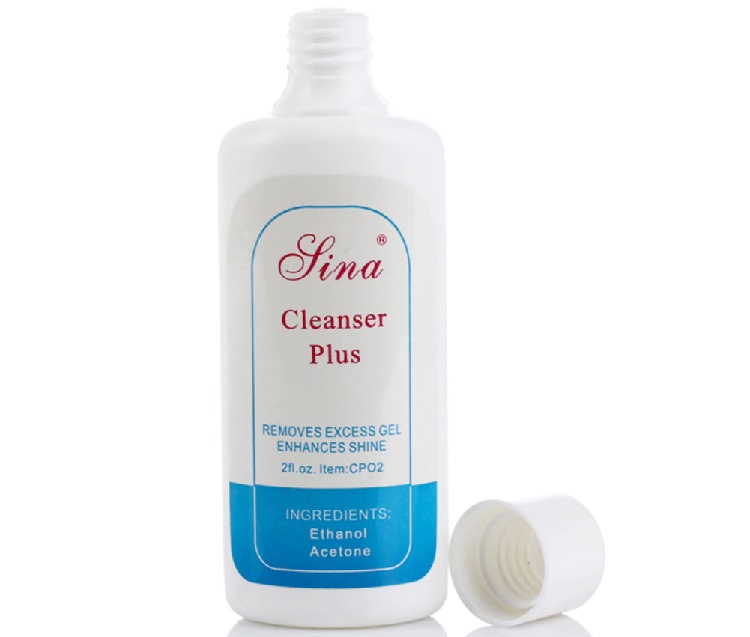
Cleanser (better known as synergy swipe) cleans the nail from skin and dust residues before starting the polish.
It is also used to remove the sticky layer that remains on the nail surface after the last coat of polish (top coat).
Lint-free cotton wipes
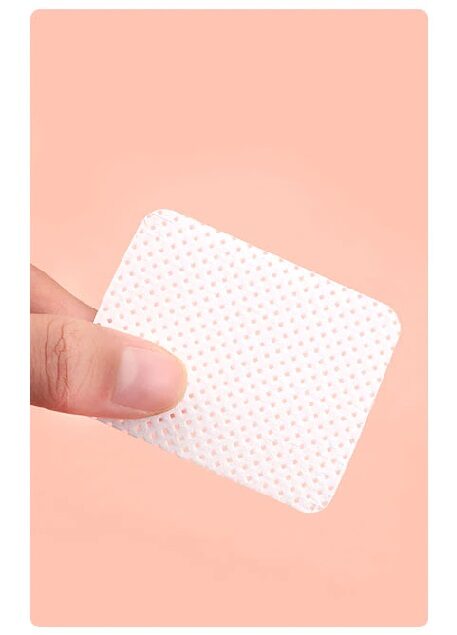
These wipes are very useful for applying cleanser or removing product residue from your work instruments.
If you prefer not to buy these wipes, you can always use sterile gauze. Forget about using hydrophilic cotton (the one from the first aid kit), as it leaves lint that will remain adhered to your nails when you apply the polish and cure it, obtaining a not very clean and professional finish.
LED/UV lamp
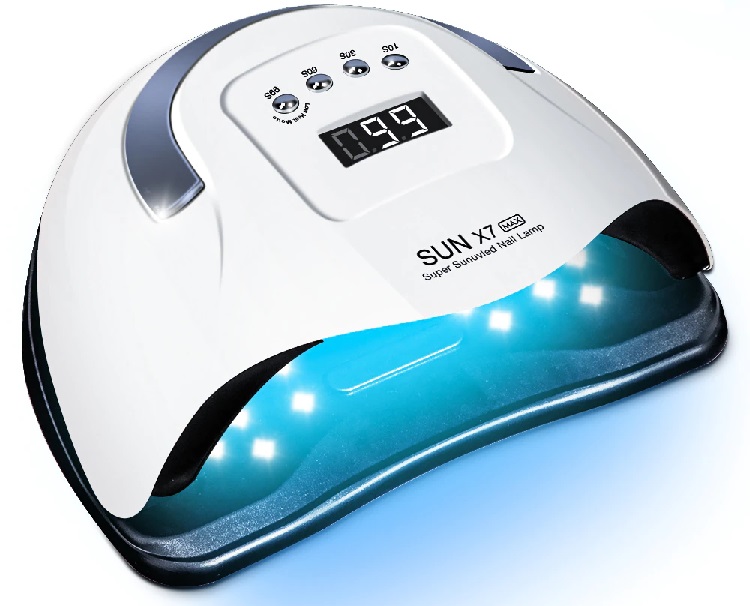
Remember that semi-permanent polishes only cure with the help of LED/UV lamps: this process is called nail curing and it is important that you respect the lamp curing time so that the polish adheres properly and does not peel or flake off after a few days.
There are two types of curing lamps: LED and UV. Nowadays the most popular ones, due to their good quality/price ratio and faster curing time, are the LED ones.
How long does it take for a lamp to dry the nails?
This depends entirely on the type of lamp (LED or UV) and its power.
To guide you and not to fall short, let's see the drying times in the following table.
| LED Lamp | |
| Power | Drying time |
| 9 W | 120 s |
| 12 W | 90 s |
| 18 W | 60-80 s |
| 20 W | 60 s |
| 24 W | 60 s |
| 36 W | 30-40 s |
| 48 W | 30 s |
| 72 W | 20 s |
| 90 W | 10 s |
| UV Lamp | |
| Potencia | Drying time |
| 9 W | 120-180 s |
| 18 W | 120-150 s |
| 36 W | 120 s |
As you can see, LED lamps offer much faster drying. If you plan to use it professionally or simply to avoid laziness every time you paint your nails, it is recommended that you opt for an LED.
Also, keep in mind that for the small price difference between a less powerful LED lamp (9W) or a much more powerful one (72-90W), it is worth investing in a higher quality one to dry your nails faster.
Avoid mini LED lamps
One thing we don't advise you to do is to waste your money on mini LED lamps, with which you can only dry your nails one at a time.
These lamps can be very attractive because of their low price (from $2-3) and the small size they occupy, but the curing of the nails takes forever, so you'll end up getting fed up and discarding them quickly.
Primer
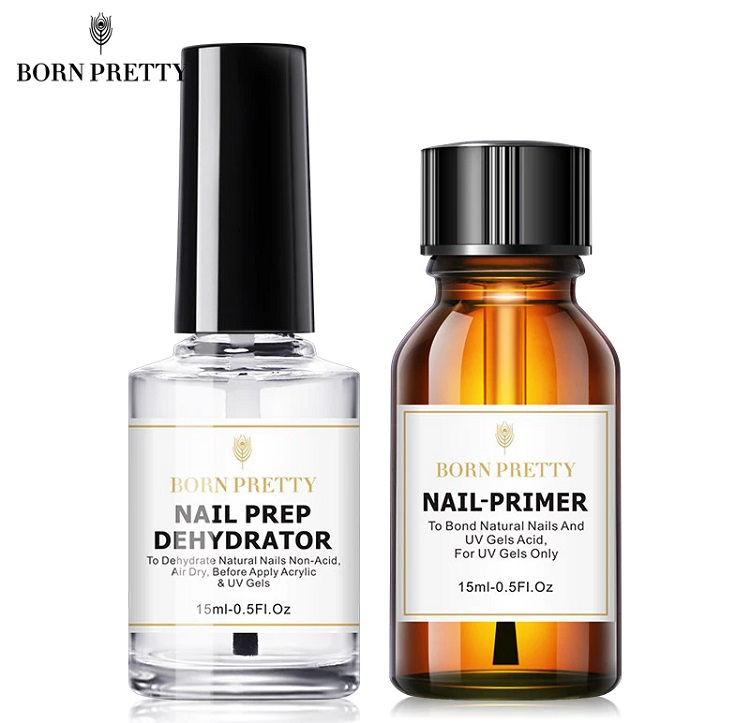
Applying primer is not mandatory for semi-permanent polish, although it will help your manicure last much longer, as the polish will adhere much better to the nail.
It is recommended for use on oily nails or if you are going to offer your services professionally (you will ensure greater durability and therefore more satisfied customers).
Base coat
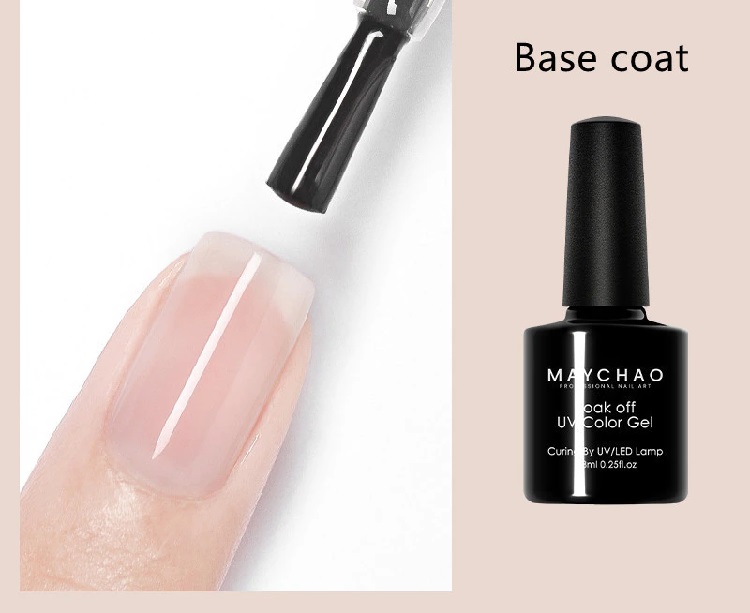
In case you do not use primer, the base coat will be the first layer that you will apply on the nail to protect it from the colored polish so that it does not affect the tone of the nail (prevents the nail from yellowing).
Semi-permanent nail polish
Semi-permanent polish is applied after the base coat.
Usually two coats of polish cover the nail perfectly, but if not, you can apply up to three.
In AliExpress you have many brands to choose from, but below we explain which are the best so you can be sure you'll get it right.
Top coat
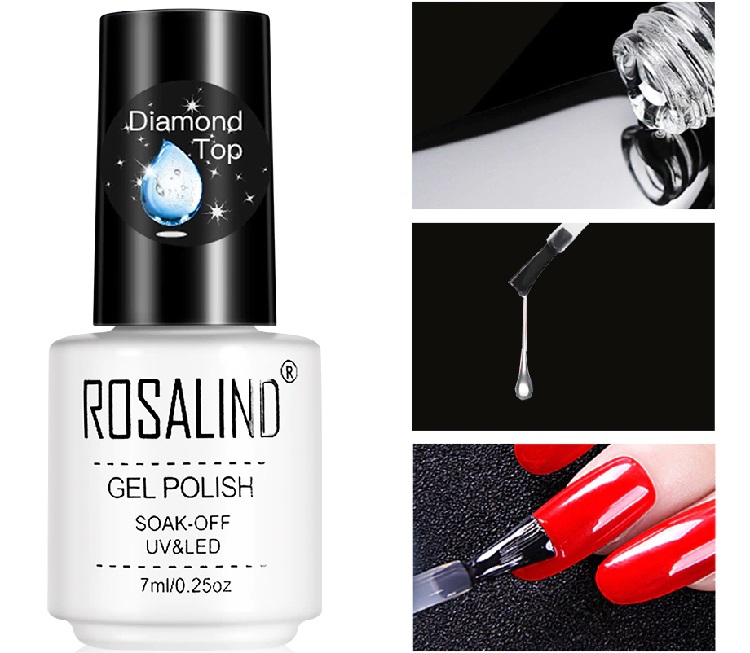
A top coat is a transparent polish with gloss or matte that is used as the last step of your semi-permanent manicure: it helps protect the color, adds shine and its correct application is very important for the manicure to be completely sealed and more durable.
Cuticle moisturizing oil
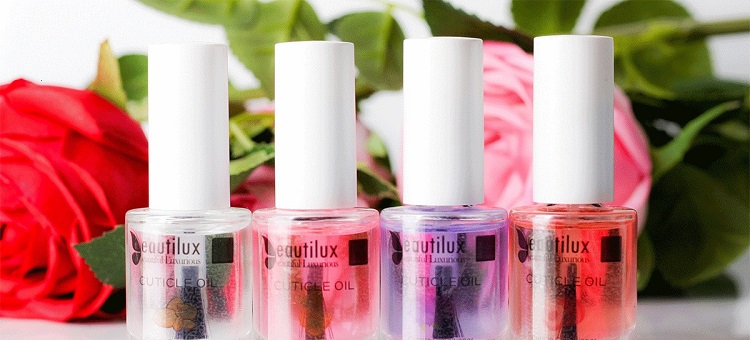
Cuticle moisturizing oil is used at the end of the polish to keep the skin around the nail moisturized, delaying the appearance of dead skin and preventing the cuticle from drying out.
If you apply it every night before going to bed, you will see that your manicure will last much longer.
How to get a professional result?
If you have never done a semi-permanent nail polish before, you might be a bit lost on the essential steps and tips to get a long-lasting manicure with a professional finish.
Here we explain it in a simple way, but you know it's all a matter of practice.
1. Condition the nail
This step may seem unimportant, but preparing the nail well, shaping it and removing dead skin, is what will really make your manicure look professional.
Peel the cuticle off the nail
Start by peeling the cuticle off the nail with a cuticle pusher or an orange stick (here).
Do it gently, from top to bottom and then, with a nail file (here), file away the skin and small calluses from around the nail.
Use a nail drill to remove dead skin
First choose a drill bit with a fine tip (here): this will help you to finish peeling off the cuticle and remove skin.
Then switch to a drill bit with a cylindrical shape (here) to finish cleaning loose and hard skin.
Cut the cuticle
Finally, trim the cuticle (here) and the rest of the skins that could not be removed with the barrel file.
Important: Remember not to stick the tip of the drill bits on your nails, they should always be placed parallel to the surface, as you could damage them forming unsightly rings of fire.
2. File and polish your nails to open the pore
Next, shape your nails with a flat cardboard file (here) and polish the surface to open the pore.
Is it necessary to buff the nail?
This step always brings a lot of controversy, as many people prefer not to polish the nail so as not to weaken it.
In spite of this, most manicurists insist on not skipping it…
The reason? By filing the nail, we open the pore so that the product can penetrate and hold much better, ensuring a longer-lasting polish. But the truth is that filing them frequently weakens them, so if you don't let them rest between manicures, you may notice that their hardness suffers.
In our experience, filing the nails is not essential for a good and long-lasting result, so it is up to you.
Always polish in the same direction
Keep in mind that if you decide to polish the surface, choose a fine-grained file (the cube files are the most practical and you have them here) and you should always do it in the same direction and very gently.
3. Clean the remains of dust and skins with cleanser (synergy swipe)
Pour some cleanser (here) on a lint-free cotton wipe (here) and clean the nails from dust, skins and grease that may remain. If you don't have a wipe handy, you can use a sterile gauze pad.
It is very important to remove the remains of dirt so that the nail polish holds well and does not peel off after a few days.
4. Apply the primer or base coat
As we have already explained before, the primer (here) is a recommended product if you have oily nails, but not mandatory.
Normally, people with oily skin also have oily nails and this can make the polish come off more easily.
Remember that if you apply primer, you should do it before the base coat (here).
Both polishes should be cured in a LED/UV lamp (here) for the time indicated in the tables above.
5. Apply the color polish
To apply the polish (here) correctly, you should not over-wet the brush: the layers should be thin to avoid bubbles forming when the product dries with the LED/UV lamp. You are also less likely to dirty your cuticle or skin with nail polish.
Use a fine brush to avoid leaving any gaps unpainted
If you use a fine brush, you can paint more accurately around the edge of the nails (here) without smearing product on the skin.
Apply up to 3 thin layers of color
When the nail polish you are using does not cover completely with two coats, apply a third coat. Always adding little product between coats.
Start by applying the polish from the center, from bottom to top and always finish by sealing the tip of the nail with the brush (sweep the free edge from one end to the other).
Sealing the tip of the nail is one of the fundamental points in semi-permanent polish: this will prevent the product from lifting in this area, one of the most punished by daily work.
6. Apply the top coat
The top coat (here) gives your manicure a special shine, as well as protecting the color: apply it in the same way as the base and color polish and don't forget to seal the tips of the nails.
After curing the polish, clean the remaining sticky layer with a little cleanser and moisturize the cuticles with specific oil (here) or coconut oil.
Best nail polish brands on AliExpress
On AliExpress you'll find many brands of semi-permanent nail polish available at very good prices, although not all of them offer the same results.
Let's see which ones are the best.
1. Elite99
Official store: Go to the store
If you are thinking of offering your services as a manicurist, consider Elite99 as one of the best polishes for your work: they have great quality, good size, correct durability (minimum 2-3 weeks) and although in AliExpress you have cheaper brands than this one, their good reviews and thousands of sales endorse it as one of the best options.
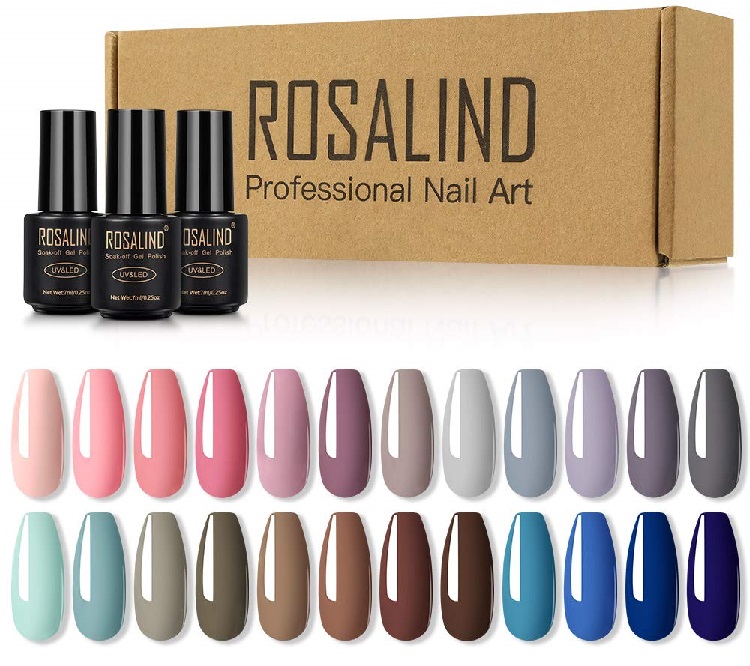
2. Rosalind
Official store: Go to the store
Rosalind is one of the most popular brands of semi-permanent nail polish on AliExpress, not only for its cheap prices, but also for its great durability.
If you are looking to get a good range of colors for home use, the size of Rosalind's bottles is ideal: they are not excessively large and most cost little more than 1€. This way, you can buy a lot of colors, while taking up almost no space.
3. Born Pretty
Official store: Go to the store
Born Pretty is one of the top brands on AliExpress and you can find both nail polishes and tools.
Their nail polishes are among the best sellers and customer reviews praise their products as one of the best on the Chinese giant's platform.
4. Venalisa
Official store: Go to the store
Venalisa is, along with Elite99, another of the brands par excellence of AliExpress: highly durable nail polishes, with very similar characteristics to other professional nail polishes and a very careful packaging.
Something we love about this brand is that their packaging is the same color as the enamels they contain, so they are easier to locate.
Keep in mind that the bottles of semi-permanent nail polishes are always opaque, as light can damage them. Therefore, it is not possible to distinguish at first glance the color they contain.
5. LILYCUTE
Official store: Go to the store
LILYCUTE reminds us a lot of Rosalind in terms of size and price of its products: nail polishes in mini bottles for less than $1.
Many satisfied buyers choose LILYCUTE for their manicure for these reasons: they are very covering, with the right density to make them easy to work with and more than acceptable durability.
6. UR Sugar
Official store: Go to the store
If you like different nail polishes such as glitter, thermal (they change color depending on the temperature), fluorescent, cat eye… in this brand you will always find the latest novelties for the most daring designs.
7. LEMOOC
Official store: Go to the store
LEMOOC nail polishes are excellent value for money, with a wide range of colors in neutral, warm, fluoride, glitter…
8. Clou Beaute
Official store: Go to the store
Clou Beaute has semi-permanent nail polishes from 80 cents, so if you're looking to get a good assortment of colors for little money, take a look at their official store.
9. Arte Clavo
Official store: Go to the store
Arte Clavo may not be one of the best-known nail polish brands on AliExpress, but they've certainly earned a spot in our top 10 best semi-permanent polishes for their remarkable quality, great coverage and average durability of 30 days.
10. KADS
Official store: Go to the store
KADS has polishes of all types and colors, many of them suitable for manicures with drawings (with the help of a fine precision brush).
In addition to polishes, you can not miss all the accessories that this brand has for your manicure: lathes, lamps, brushes, nail stamp plates…
Decoration on semi-permanent nails
If you want your manicure to stand out from all the others, on AliExpress you have all the tools to decorate them to your liking, giving free rein to your imagination to create unique and sophisticated designs.
If you are just starting out in the world of manicure, don't be afraid to experiment with new techniques, you will see that it is much easier than it seems.
Brushes
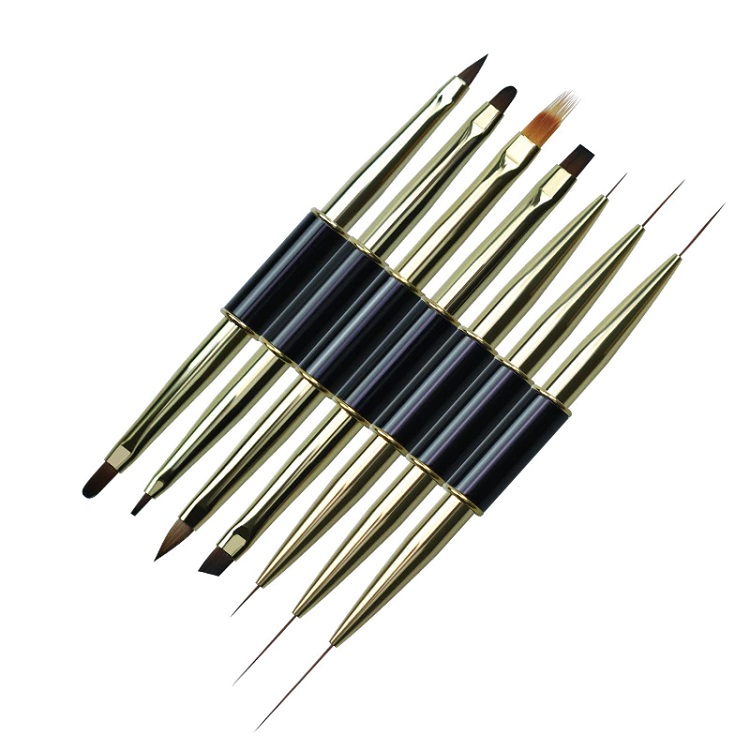
With the brushes you can paint drawings in a precise way and they are also a great help to retouch the edges of the nails without staining the skin (especially when using dark colors).
Mixing paddle
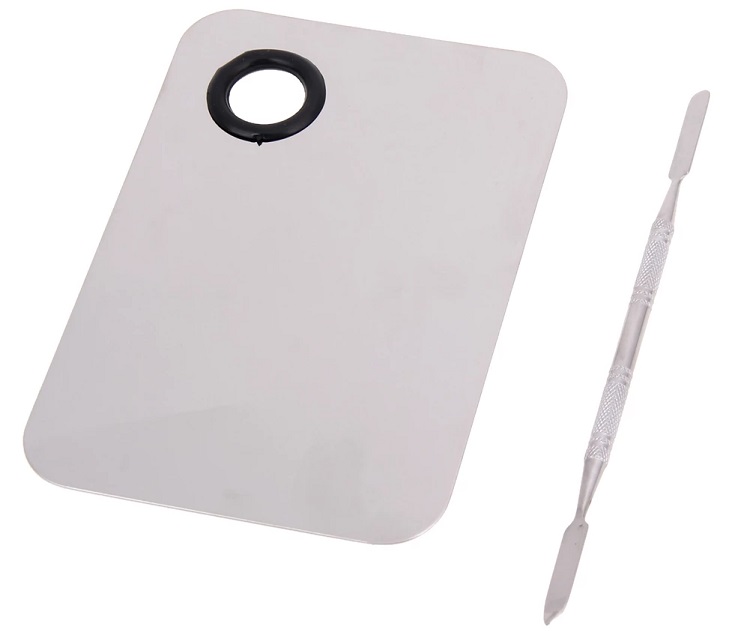
Ideal for mixing colors and achieving different shades.
Stickers
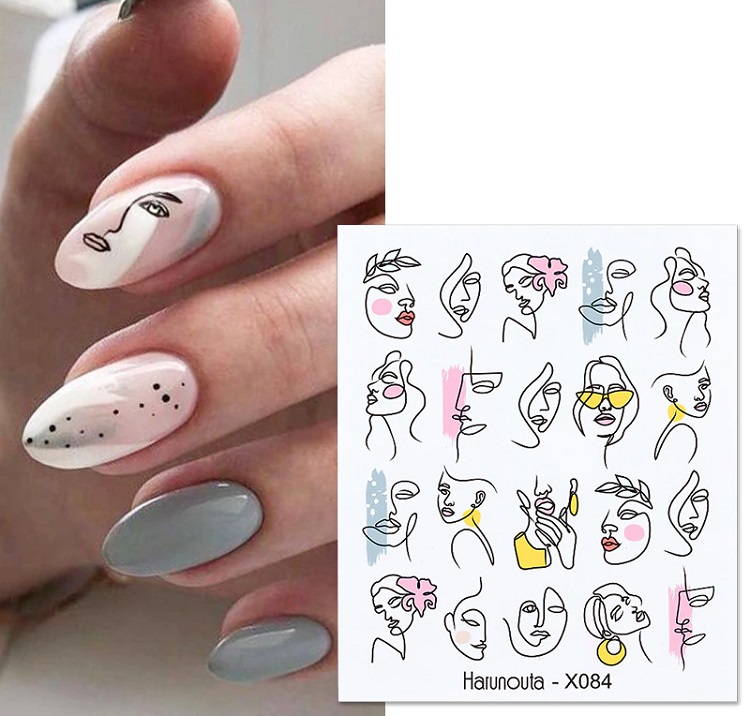
On AliExpress you can find a huge variety of stickers for your manicure.
These are very practical to decorate with drawings in a few minutes and with little effort:
- Peel the sticker off the cardboard with the help of tweezers (do it slowly so it doesn't break).
- Stick it on the nail after the colored nail polish.
- Apply one or two coats of top coat (better two to avoid peeling off the ends of the sticker) and you're done.
Glitter, confetti, ribbons, chains…
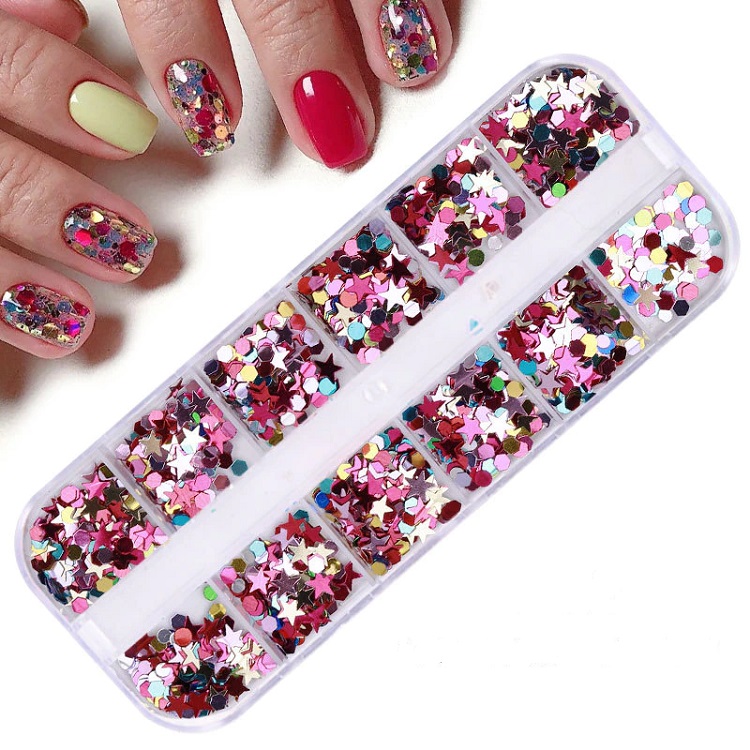
For more sophisticated manicures you can add rhinestones, confetti or many more options with a procedure very similar to the stickers:
- After the colored polish, apply a thin layer of top coat but don't cure it yet (so you can stick on top of the decoration).
- Place the decoration with the help of a spotswirl pen (here) and dry the nail in the UV/LED lamp.
- Apply one or several generous coats of top coat to encapsulate the decoration. This will depend on how voluminous the decoration is, but make sure there are no peaks that can get caught in hair or clothing.
Stamping nail art

With the stamping plates you can transfer designs to your nails with the help of a stamping stamp:
- Impregnate with colored nail polish the design you want on your plate.
- With the stamping stamp press on the plate (the drawing is transferred to the stamp).
- Place the stamp on the nail, apply a layer of top coat and cure in the UV/LED lamp.
Stamping stamp
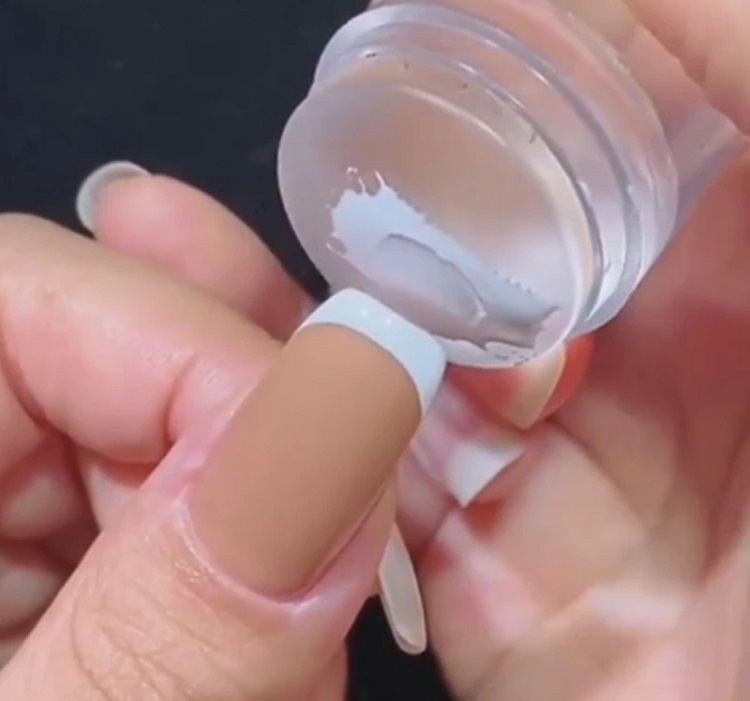
The stamping stamps are very useful to transfer drawings from the stamping plates and to perform an express French manicure:
- Apply polish of the color you want for your French manicure on the stamping stamp.
- Press with the stamp the tip of your nail, with a gentle movement from one side to the other, so that only the free edge is impregnated with polish.
- Dry with the UV/LED lamp.
- Seal the nail with the top coat and cure with the lamp.
Painting gel (for 3D drawings)
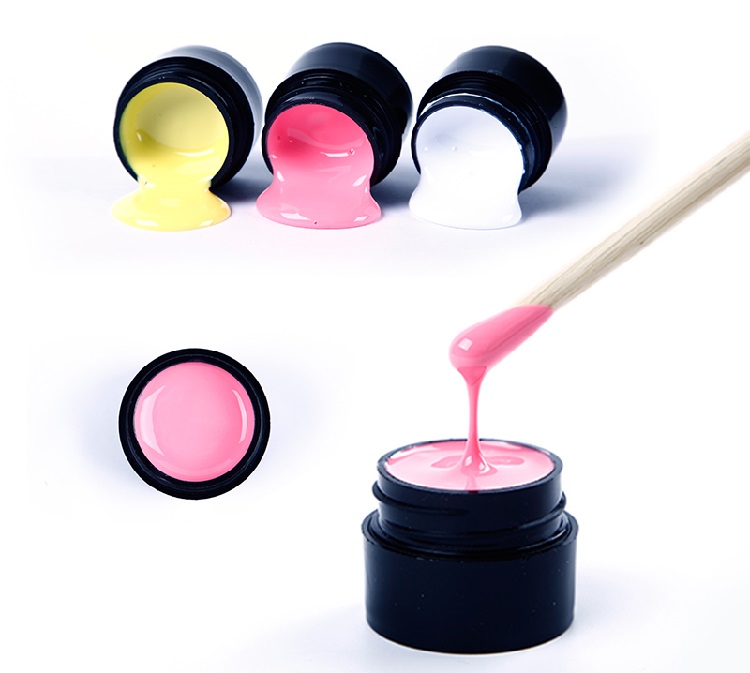
These color gels are presented in small jars, with a thicker texture than the nail polishes to be able to work them easily, obtaining drawings with a little relief.
With the help of a fine brush you can create drawings and seal them with a final coat of top coat.
How to remove semi-permanent nail polish
Removing semi-permanent nail polish is undoubtedly the most tedious part. That's why we're going to look at the traditional way to do it and give you a trick to speed up this procedure.
- With a nail file or a flat cardboard file, remove the first layer of polish (top coat) so that the acetone can penetrate more quickly and soften the product.
- Soak a piece of cotton with pure acetone and place it on the nail. To fix it, wrap the nail with some silver paper or with these special tweezers that you can find here (much more practical).
- Leave the acetone on for 20-30 minutes, remove the cotton and remove the nail polish with a cuticle pusher or orange stick.
Tip to remove semi-permanent nail polish in minutes
If you want to advance this process much more, in AliExpress you will find semi-permanent nail polish removers (here).
It comes in the same bottle as a nail polish, its use is super simple and it works in just a few minutes:
- Apply the product on your nails with the brush it comes with. It is important that you sweep your nail from top to bottom in all corners.
- Let the remover act for about 5 minutes.
- You will quickly see how the nail polish begins to peel and crack.
- With a cuticle pusher or orange stick, remove any remaining polish.
Can nail polish from different brands be mixed?
Many of you wonder if you can mix nail polishes of different brands and the answer is yes.
In principle there is no inconvenience in mixing them, although if you notice that the durability suffers, it may be because one component is not compatible with another (but this is not usual).
Also, if you are not convinced to apply low cost products on your nails (although they are totally safe) you can invest in a base and top coat of high range (such as CDN Shellac, Opi, Essie, Peggy Sage…), since the base will be the one in contact with your nail and the top coat will protect it.
Even if you spend more money on these two products, they are very durable and you can mix them with cheaper polishes without any problem.
How to quickly find your desired nail polish color
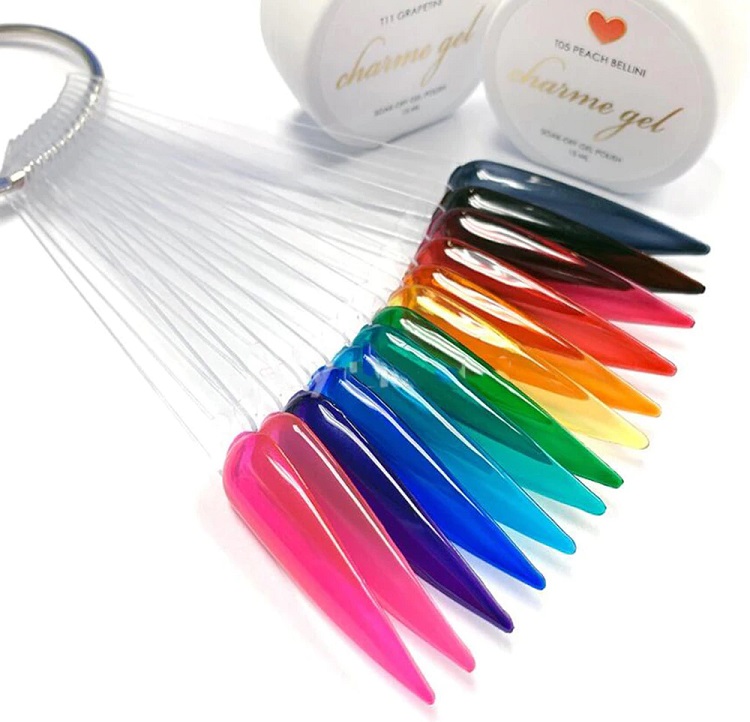
As we have already mentioned before, semi-permanent nail polishes come in opaque bottles to protect them from light, so picking a color can become a complicated task when you have a good collection.
On AliExpress you have available swatches in which to paint with a small amount of product and indicate the numbering of the bottle to which it corresponds.
Although you can make a homemade one, the AliExpress ones seem to us a great option to have them ordered in a much more professional way and its price does not involve a large outlay ($2-3).
My nails are weak. What can I do?
If you chain one manicure after another without resting, the polishing of your nails may have weakened them, thinning them and making them brittle.
In this case, the best thing to do is to rest for a while and apply a hardener like this one, one of the best products on the market for strengthening and recommended by all professionals in the sector.